
Reviewed · GRAND CENTRAL TERMINAL TOURS
Grand Central Photo Tour
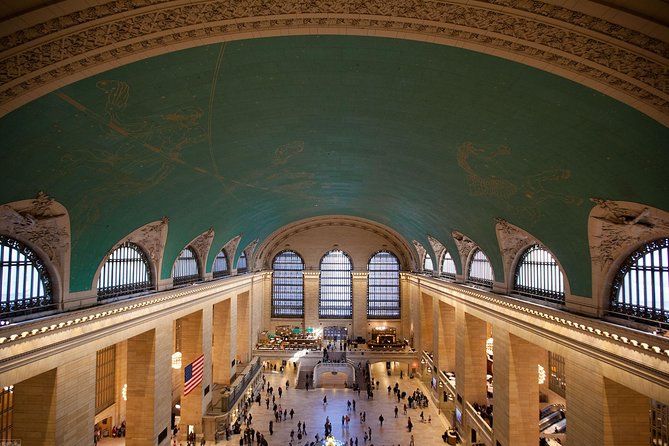
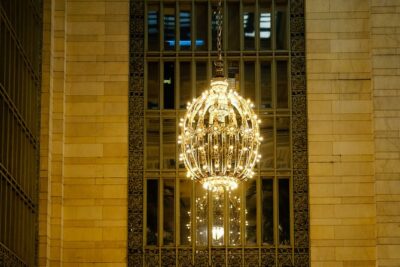
Grand Central Terminal is more than a place to catch a train. Its main hall gives you grand architecture, moving crowds, dramatic light, and plenty of chances to make a stronger photograph. This small-group workshop shows you how to use the building as both subject and studio, including a rare chance to photograph the floor from about 100 feet above.
I like the hands-on coaching and the creative focus. Guides such as Bruce and Zim adjust their advice to your camera and skill level, check your images as you go, and help you think about angles and composition rather than simply pressing the shutter. The main drawback is that this is a focused photography lesson, not a broad sightseeing tour of Midtown, so you should book it only if you want to spend two and a half hours working with your camera.
Key points
- Photograph from 100 feet above the main floor: Get an unobstructed view of Grand Central’s great hall from an unusual height.
- Practice slow shutter speeds: Learn how to show the movement of people inside one of New York’s busiest terminals.
- Small group of eight or fewer: You get more room for questions, feedback, and individual help.
- Professional photographer guide: Bruce, Zim, and other NYC Photo Safari guides bring both technical instruction and creative advice.
- Permit and tripod use included: You can concentrate on making photographs without arranging a separate photography permit.
- Two and a half hours at one landmark: The pace gives you time to learn, shoot, review, and try again.
Grand Central’s Main Hall as Your Photo Classroom
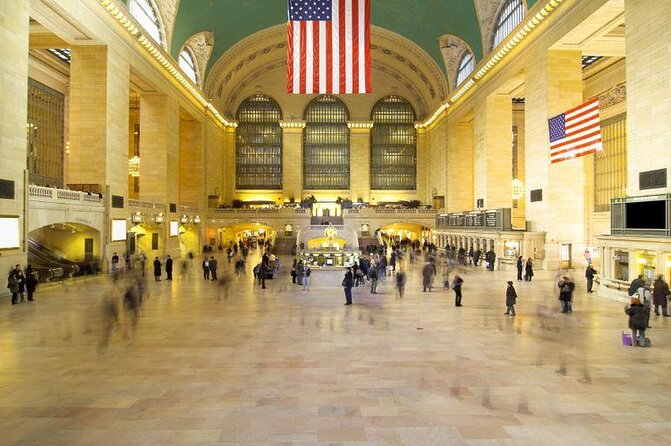
The tour begins at Grand Central Terminal, 89 E 42nd Street, at 10:00 am. The building is often called Grand Central Station, but Grand Central Terminal is the correct name. That small distinction matters less than what you do inside, but it helps you sound like you know where you are when you meet your guide.
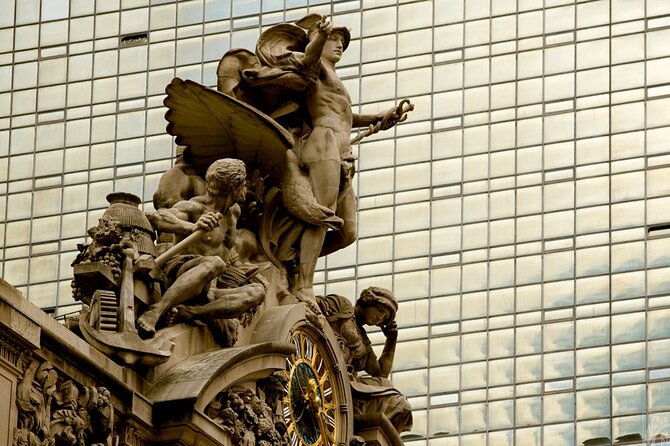
The main hall is a fine place to start because it offers several kinds of photographs in one room. You have the ceiling, the clock, the wide floor, the grand staircases, and the steady movement of people. A beginner can work on basic framing here, while a more experienced photographer can look for less obvious angles and patterns.
I like that the lesson is built around a real place rather than a classroom exercise. You are not practicing on a test subject that has been arranged for you. You are learning to make decisions in a public space where light, people, and viewpoints keep changing.
The guide helps you use the camera as a tool for seeing. That can include choosing a different angle, finding a stronger composition, or deciding what story you want the photograph to tell. The aim is not simply to collect a picture of the famous room. It is to find your own version of it.
More Grand Central Terminal Tours:
- Secrets of Grand Central Station Walking Tour New York City
★ 5.0 · 1,796 reviews - NYC: The Secrets of Grand Central Terminal
★ 4.8 · 718 reviews - NYC: Official Grand Central Terminal Tour
★ 5.0 · 458 reviews
Slow Shutter Speeds and the Movement of New York
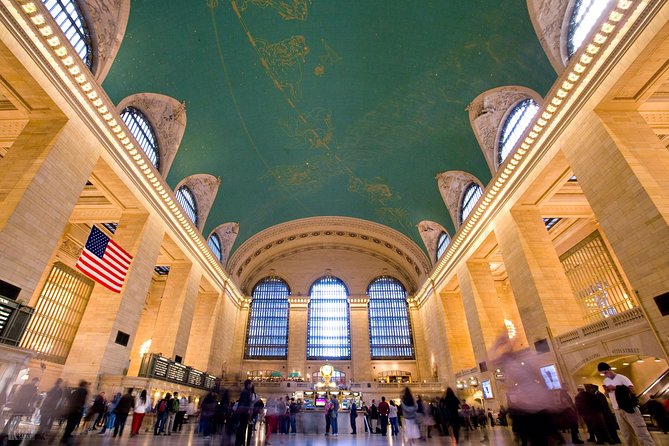
One of the most useful parts of the workshop is the work with slow shutter speeds. Grand Central gives you a natural subject for this technique: people crossing the hall, stopping at the clock, or moving through the frame.
A slow shutter speed can turn motion into a soft trail while keeping part of the scene sharp. It is a simple way to show the energy of the terminal instead of freezing every person in place. You do not need to be an expert to try it, but you do need to understand how the setting changes the result.
This is where the guide’s individual feedback matters. You may think a photograph works until you look at it and see that the subject is lost, the frame is too busy, or the movement does not help the picture. The guide can help you make a quick adjustment and try again.
The tour is aimed at beginners, but it does not stop at basic camera operation. More advanced photographers can use the same exercise to work on timing, visual balance, and the relationship between still architecture and moving people. One useful feature of the instruction is its attention to why a photograph works, not just which button to press.
The 100-Foot View Most Visitors Miss
The unusual viewpoint from roughly 100 feet above the main floor is a major reason to choose this workshop. It gives you a chance to photograph the full room from above, with a view that is difficult to create from the floor.
The value is not only the height. A high viewpoint changes the way the architecture reads. From the main floor, you may focus on the clock, ceiling, or grand scale of the room. From above, you can work with the geometry of the hall, the pattern of people, and the relationship between the floor and surrounding levels.
The photograph is described as unobstructed, which is important. A clear view lets you make a cleaner composition instead of constantly working around barriers or other people. It also gives you a picture that is less likely to look like the standard snapshot taken by nearly everyone in the building.
You should still keep your expectations sensible. This is one special viewpoint within a two and a half hour workshop, not a private photography session throughout the entire terminal. The rest of the time is spent learning, moving through the building, and making photographs from other angles.
Personal Instruction in a Group of Eight
The maximum group size is eight people. That is small enough to make questions practical, especially compared with a large sightseeing group where the guide must keep moving and cannot inspect your camera settings.
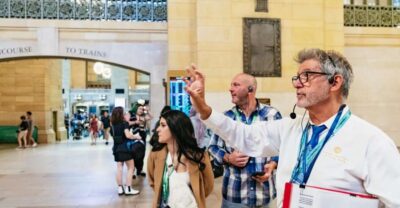
The teaching style described for the NYC Photo Safari guides is active and personal. Bruce is noted for giving useful shooting tips during a Grand Central tour. Zim is praised for helping photographers try camera functions they had never used and for encouraging them to see angles differently. Those details suggest a lesson that adjusts to the people in front of the guide rather than following a rigid script.
You may arrive with a phone, a simple digital camera, or a more advanced setup. The experience is beginner-friendly, but the data does not limit it to one camera type. What matters most is your willingness to ask questions and try the techniques being discussed.
The guide also checks photographs while you work. This is one of the strongest features for a learner because you get feedback while the subject is still in front of you. You can test an idea, look at the result, and make a better second attempt rather than waiting until you are home and wondering what went wrong.
The small group also affects the mood. You are not expected to make perfect photographs right away, and you have room to experiment. At the same time, you should be comfortable learning in front of other people, since the group shares the same location and general instruction.
More NYC Photography Tours and Photo Shoots:
- NYC Professional Photoshoot and Walking Tour with Private Guide
★ 5.0 · 608 reviews - New York Icon Photography Tour led by a Local Photographer
★ 5.0 · 155 reviews - New York: 1-hour Photoshoot in Iconic Locations
★ 5.0 · 101 reviews - Central Park Photography Tour with Local Photographer
★ 5.0 · 85 reviews
Composition Advice That Goes Beyond Camera Settings
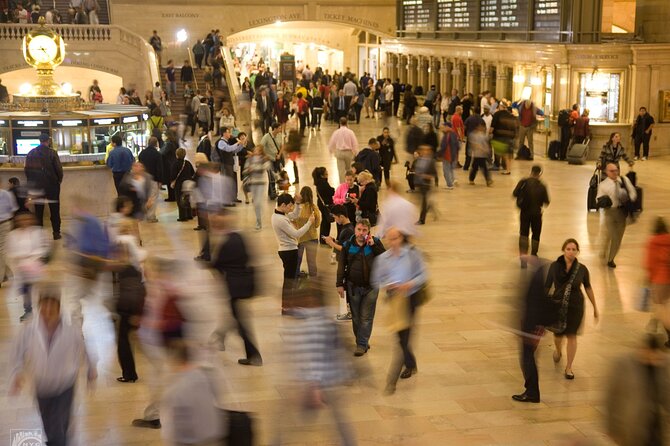
A useful photography tour should not become a long lesson in buttons and menus. The instruction here also focuses on composition, creative choices, and finding the story inside a scene.
That means you may be asked to reconsider where you stand, how much of the room you include, or which detail deserves the viewer’s attention. The familiar Grand Central interior can become a different photograph when you change the height, angle, distance, or timing.
I especially like the emphasis on making decisions. A good image usually depends on leaving something out as much as including something. The guide can help you decide what the photograph is about, then use the camera to support that idea.
This approach helps explain why the tour can suit people who already understand exposure. Technical control is useful, but it does not automatically produce an interesting image. The workshop puts equal weight on seeing, selecting, and composing.
What the 2.5-Hour Schedule Feels Like
The tour lasts about two hours and thirty minutes and remains inside Grand Central Terminal. That is enough time to work through several exercises without turning the experience into a quick walk-by with a camera.
You should expect a cycle of instruction, shooting, image checking, and adjustment. The group explores the terminal while the guide points out worthwhile subjects and helps you respond to them. The pace should feel more like a workshop than a standard guided visit.
The length is a good fit for someone who wants real practice. A shorter activity might show you a few good locations but leave little time to change settings or repeat a shot. Here, you have a better chance to understand a technique and use it more than once.
The tradeoff is that two and a half hours can feel long if your main goal is simply to see Grand Central. You will not cover a long list of New York sights. You are choosing depth at one location over a fast tour of several places.
The activity ends back at the meeting point. Since it starts at 10:00 am, it can fit neatly into a day of Midtown sightseeing, but the fixed start time means you should plan your morning around arriving at Grand Central on time.
Is the $150 Price Worth It?
At $150 per person, this is not a bargain-priced walk through Grand Central. The value comes from the instruction, the small group, the photography permit, and access to an unusual viewpoint rather than from admission to a paid attraction. Admission to the terminal itself is free.
I think the price makes the most sense for a photographer who wants direct help. If you are trying to improve slow shutter work, composition, angles, or camera settings, a professional guide can save you a great deal of trial and error. The chance to receive feedback on your own images is more useful than a general explanation that you forget after leaving.
The cost is harder to justify if you already know exactly how you want to photograph Grand Central and only want time to wander around with your camera. You can enter the terminal without buying this experience, so the purchase should be about learning and access to the workshop elements.
The included permit adds practical value. Photography rules in major public buildings can be unclear, and the permit means that part has been arranged for you. Tripod use is also included, which supports the slow shutter exercises and gives you more control over sharpness in low-light situations.
Gratuities are not included. You should factor that into your budget if you normally tip a guide for personal instruction.
Who Will Get the Most From This Workshop
This experience is a strong choice for a beginner who wants to move past automatic camera settings. You do not need to arrive with advanced technical skills. The format gives you a place to ask basic questions, try new settings, and see the result right away.
It also fits photographers who understand exposure but want to improve the artistic side of their work. The advice about angles, composition, and finding a visual story can help you make more intentional photographs.
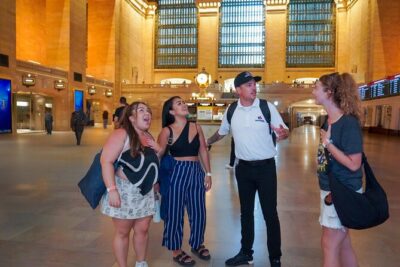
Couples and small groups of friends may enjoy it because everyone can work in the same building while receiving individual tips. The maximum of eight keeps the activity personal without making it a private tour.
The minimum age is 18. Service animals are allowed, and the meeting point is near public transportation. The available information says most people can participate, but it does not provide detailed accessibility information for every part of the terminal, so you should confirm any specific mobility needs before booking.
This is less suitable for someone who wants a traditional Grand Central history tour, a general New York sightseeing route, or a relaxed photo walk with no instruction. You will get more from it if you bring a camera you want to understand and a willingness to take several attempts at the same idea.
Practical Tips Before You Book
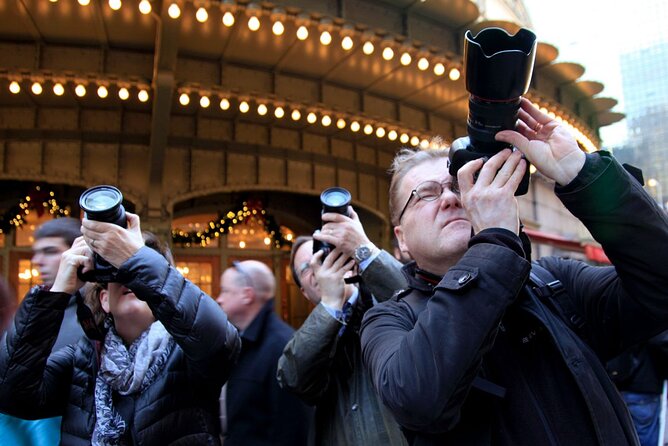
Bring the camera you actually plan to use after the tour. A complex camera will not help if you are still learning its controls, and a simple digital camera can be enough for practicing composition and timing.
Arrive ready to start at 10:00 am at 89 E 42nd Street. The activity uses mobile tickets, and confirmation is provided when you book.
Think about your goal before you arrive. You might want to learn slow shutter speeds, improve framing, try a tripod, or make a better architectural photograph. A clear question gives the guide something specific to work with.
Do not judge the tour only by the number of famous sights covered. The entire experience centers on one terminal. Its strength is the chance to return to the same subject with better choices, not the number of stops checked off a list.
You can cancel for a full refund if you do so at least 24 hours before the start time. Cancellations or changes made less than 24 hours before the tour are not accepted for a refund, and the cut-off uses local time.
Should You Book the Grand Central Photo Tour?
Book it if you want to photograph Grand Central with guidance instead of simply taking the usual wide shot. The small group, included permit, tripod access, 100-foot viewpoint, and live image feedback give the $150 price a clear purpose.
Skip it if you mainly want architectural sightseeing or a quick visit to the terminal. The best match is an adult photographer at any skill level who wants practical help, creative ideas, and time to test new techniques in one of New York’s most photogenic interiors.
FAQ
Where does the Grand Central Photo Tour begin?
It begins at Grand Central Terminal, 89 E 42nd Street, New York, NY 10017.
What time does the tour start?
The tour starts at 10:00 am.
How long does the experience last?
It lasts approximately two hours and thirty minutes.
Where does the tour end?
The activity ends back at the meeting point in Grand Central Terminal.
How much does the tour cost?
The listed price is $150 per person.
Is admission to Grand Central Terminal included?
Admission to Grand Central Terminal is free. The tour price covers the guided photography experience and its included features.
Is a photography permit included?
Yes. A photography permit is included in the experience.
Can I use a tripod?
Yes. The tour grants participants use of a tripod.
How many people can join the tour?
The maximum group size is eight travelers.
Is the tour suitable for beginners?
Yes. The workshop is beginner-friendly and is designed for photographers of all levels.
What is the minimum age?
The minimum age is 18.
Are service animals allowed?
Yes. Service animals are allowed.
Can I cancel for a full refund?
Yes. You can cancel at least 24 hours before the start time for a full refund. Cancellations made less than 24 hours before the start time are not refunded.
Recently added in New York City
- NYC: Midtown Hands-On Bagel Baking Class★ 5.0 · 12 reviews
- Personalize Sightseeing Tour★ 5.0 · 92 reviews
- Photographer, Professional Photo shoot – New York★ 5.0 · 16 reviews
- Central Park Pedicab Tour with Guide★ 5.0 · 63 reviews
- Central Park Pedicab Guided Tour★ 5.0 · 17 reviews
- Official Central Park Pedicab Ride ( UP TO 3 PERSONS )★ 5.0 · 4 reviews
- JFK or LGA package only (Round trip transfer plus VIP Contrasts)★ 5.0 · 3 reviews
- Official Central Park Pedicab Tours★ 5.0 · 35 reviews
Grand Central Terminal Tours, compared.
Secrets of Grand Central Station Walking Tour New York City
Read our review →
SUMMIT One Vanderbilt with Grand Central Terminal Tour
Read our review →
Best NYC Sightseeing Tour: Times Square, Grand Central, & More
Read our review →
SUMMIT One Vanderbilt Ticket and Grand Central Tour
Read our review →
Secrets of Grand Central Terminal and/or Penn Station – Private
Read our review →Browse the lists this tour appears in